scrap bead lampwork tutorial

How to Make a Studio Lampwork Bead

Learn how to create stunning lampwork focal beads using curated studio glass pieces in this step-by-step tutorial. Discover techniques for layering frit, stringers, and glass fragments to create one-of-a-kind beads with depth, movement, and organic design. Enhance your lampworking skills and explore a more intuitive, studio-based approach to bead making.


Over time, every lampworker builds a collection of glass fragments—short rods, stringers, and small pieces that remain from previous work. Rather than discarding them, these pieces can be intentionally selected and combined to create layered, one-of-a-kind studio beads with unique color interactions and depth.

Supplies


♦ Mandrels

♦ Bead release

♦ CG Olive roller (optional)

♦ Graphite marver

♦ Glass fragment and pieces

♦ Transparent color of choice

♦ Gold aventurine stringer (optional)

♦ Dichroic glass (optional)

♦ Kiln

Step 1

To get started with this project, you will need a selection of glass fragments, pieces, or stringers from previous work. The key is to choose combinations that complement each other in color and movement. It is also a good idea to avoid using too many reactive glasses together unless you are intentionally designing for those effects.

Over time, I have collected these pieces in small jars, separating non-reactive colors from reactive ones. This makes it easy to build a balanced palette when creating a bead. For this example, I selected a couple of reactive accents along with neutral tones, including short pieces of silvered ivory and an intense black stringer to add contrast and depth.

scrap bead lampwork tutorial

Step 2

For this bead, I started with a clear transparent tube as the base. You can choose another color for the base depending on the scraps you have. In most of my scrap beads, the core isn't even visible. Using an opaque color is also an option. However, if you're using Double Helix silver, it's advisable to avoid using white unless you're okay with the white fuming turning yellow. Sometimes, working with reactions can help you achieve a specific desired look.
scrap bead lampwork tutorial

Step 3

Continue adding your glass pieces to areas where the base glass is still exposed. For this bead, I wound a short stringer from one end to the other to begin building visual flow. Add your glass pieces intuitively, focusing on balance and movement within the design.

You can concentrate color in one area or toward one end to give the finished bead a defined focal point. While this stage is more organic, being mindful of placement will help create depth and cohesion in the final bead.

The piece of Double Helix Rhea I used was slightly larger, so I applied it in several areas to introduce contrast and subtle reactive effects.

scrap bead lampwork tutorial

Step 4

Next, I added small silvered ivory stringers on each side. These reactive pieces can easily dominate the bead, so it's important to use them sparingly.
scrap bead lampwork tutorial

Step 5

As the bead starts to fill out with color, I usually add some random twists using a clear stringer around the bead. During this step, I often twist between two colors to enhance their blending. Occasionally, if a color becomes muddy, pits, or shows signs of divitrification (such as turquoise or EDP), I may add a layer of clear over the color. If you have a piece of reducing glass, this is also the time to reduce it and cover it with clear. In this particular piece, I added a goldstone twist over the white and then covered it with clear.
scrap bead lampwork tutorial

Step 6

At this point, I usually begin evening out the bead by adding clear glass and filling in any holes. If one side of the bead appears lower than the other, I add a little extra glass to even it out. This is also a good time to add additional twists in specific spots. Sometimes, I pull the twist up to the surface to give the finished bead more dimension.
scrap bead lampwork tutorial

Step 7

Now, you can see the bead is beginning to resemble the final piece. Instead of using just clear on the ends, I opted for a transparent Double Helix Rhea. Typically, I continue adding clear in the middle of the bead. This not only ensures that the colors remain visible but also magnifies the design.
scrap bead lampwork tutorial

Step 8

Just continue adding clear to fill in any low points. This is the point where I use an olive bead roller to identify any visible gaps and to help smooth the bead into its final shape.
scrap bead lampwork tutorial

Step 9

There you have it! The bead is now finished and ready to be placed into the kiln for annealing.
scrap bead lampwork tutorial

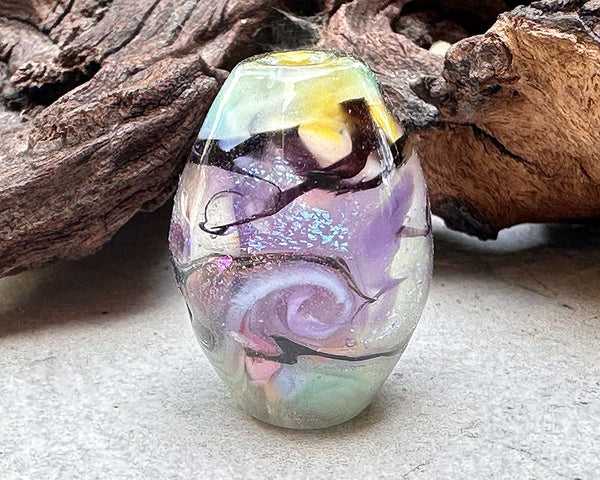
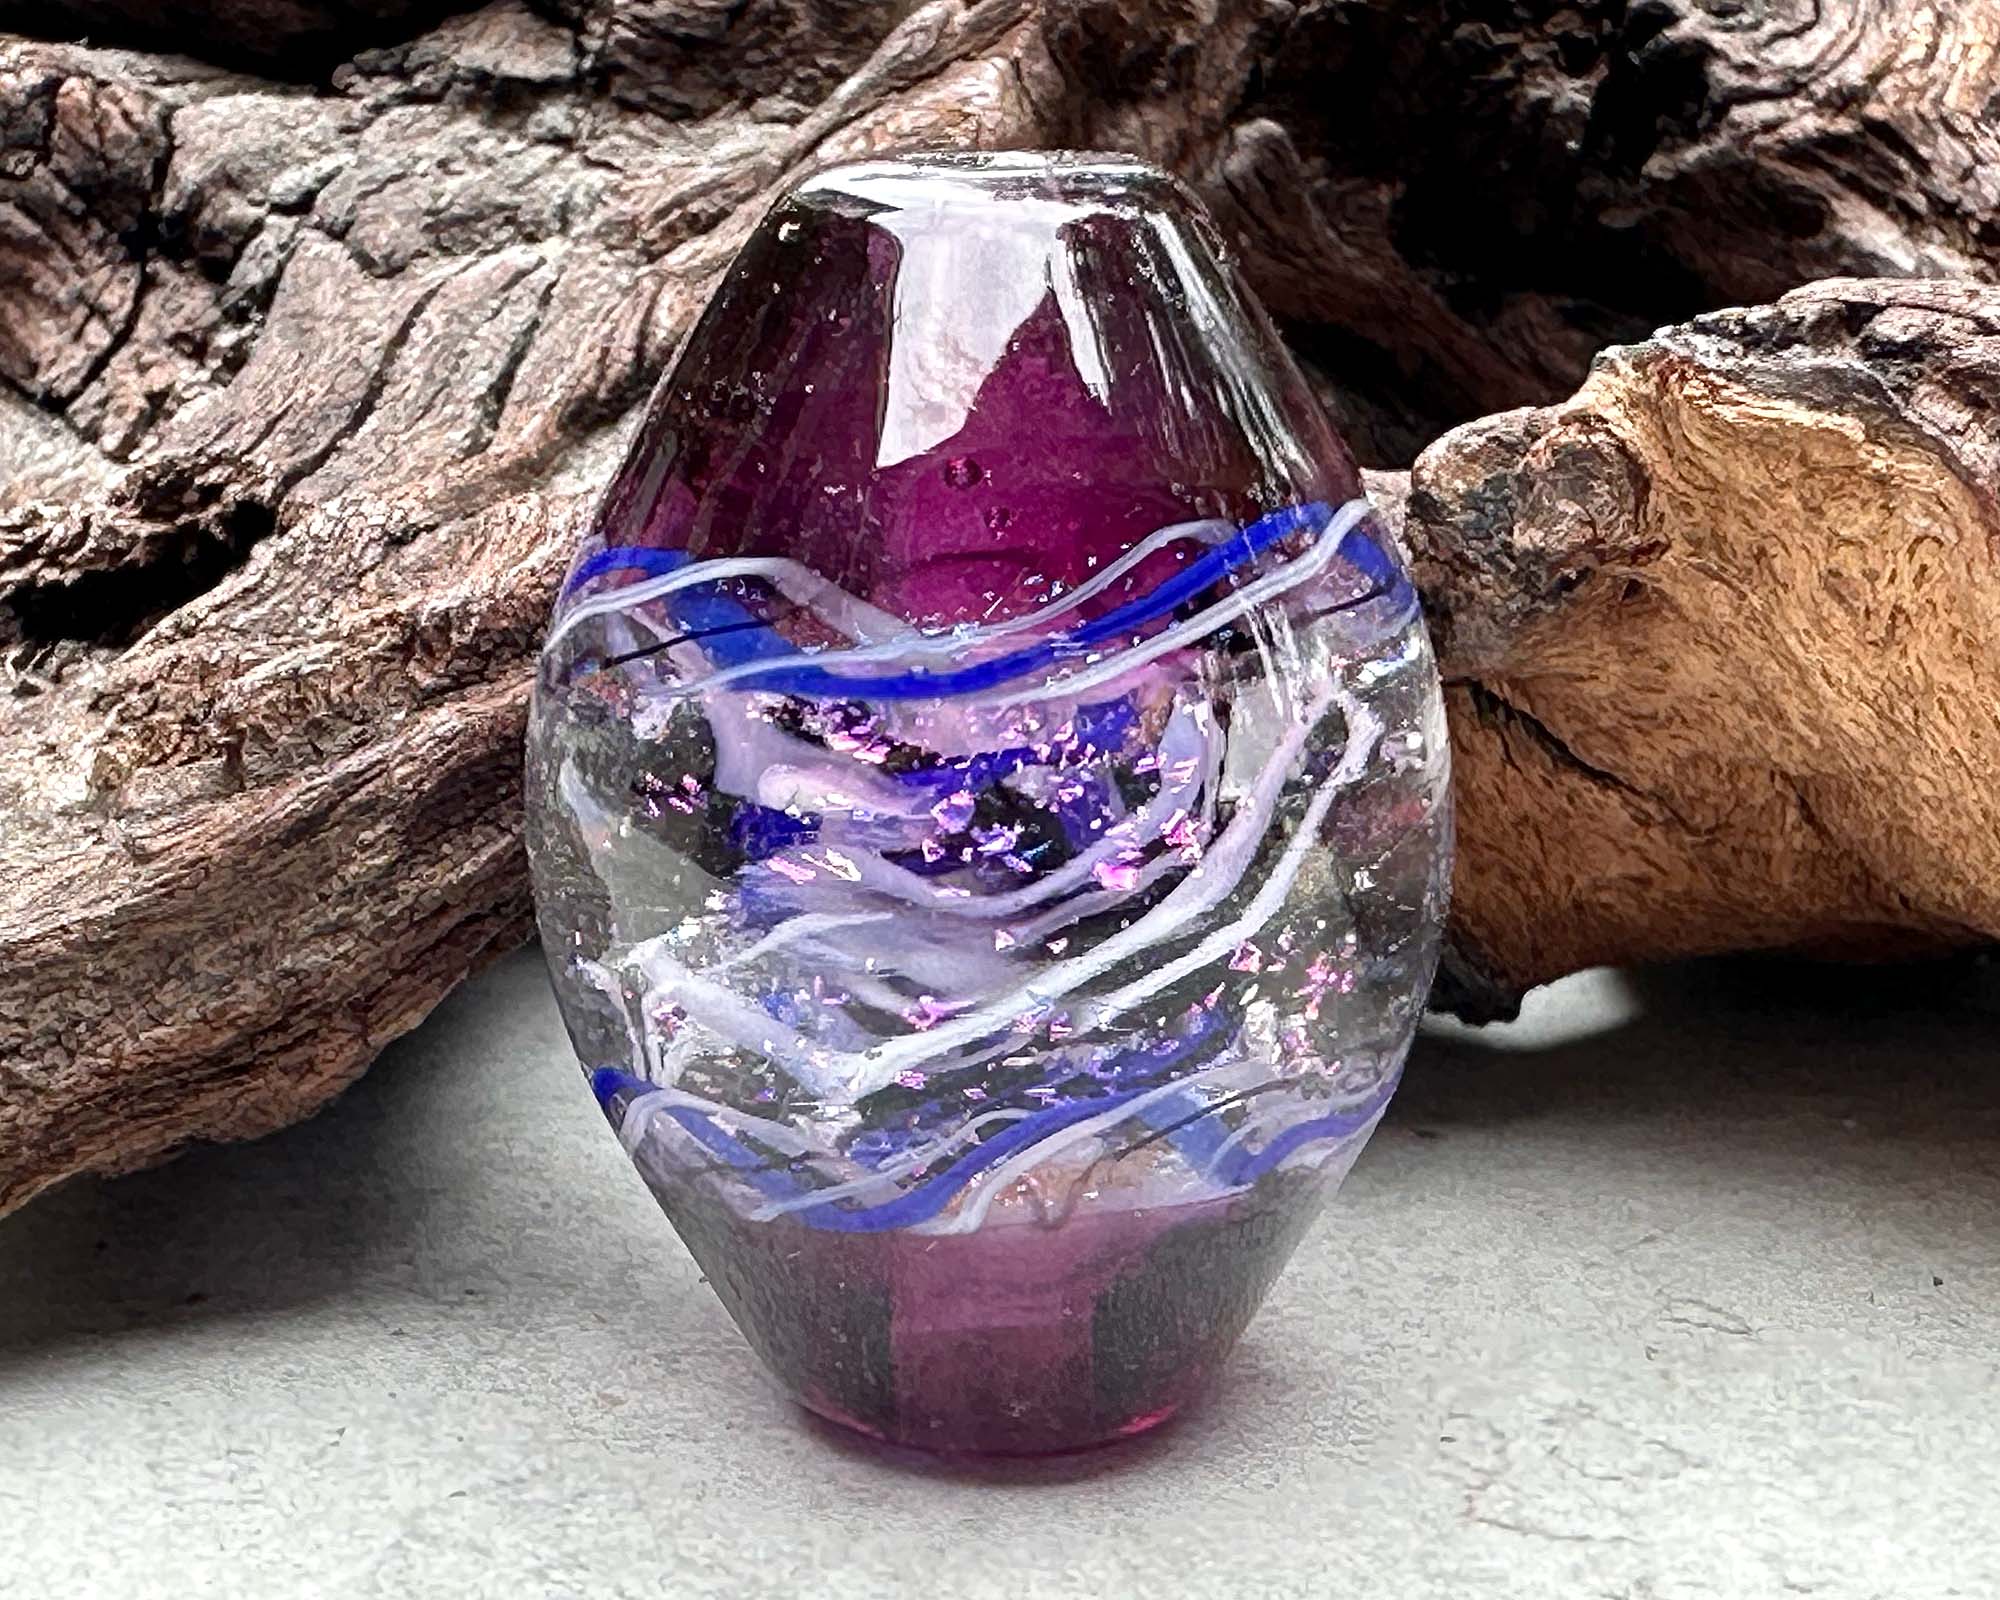
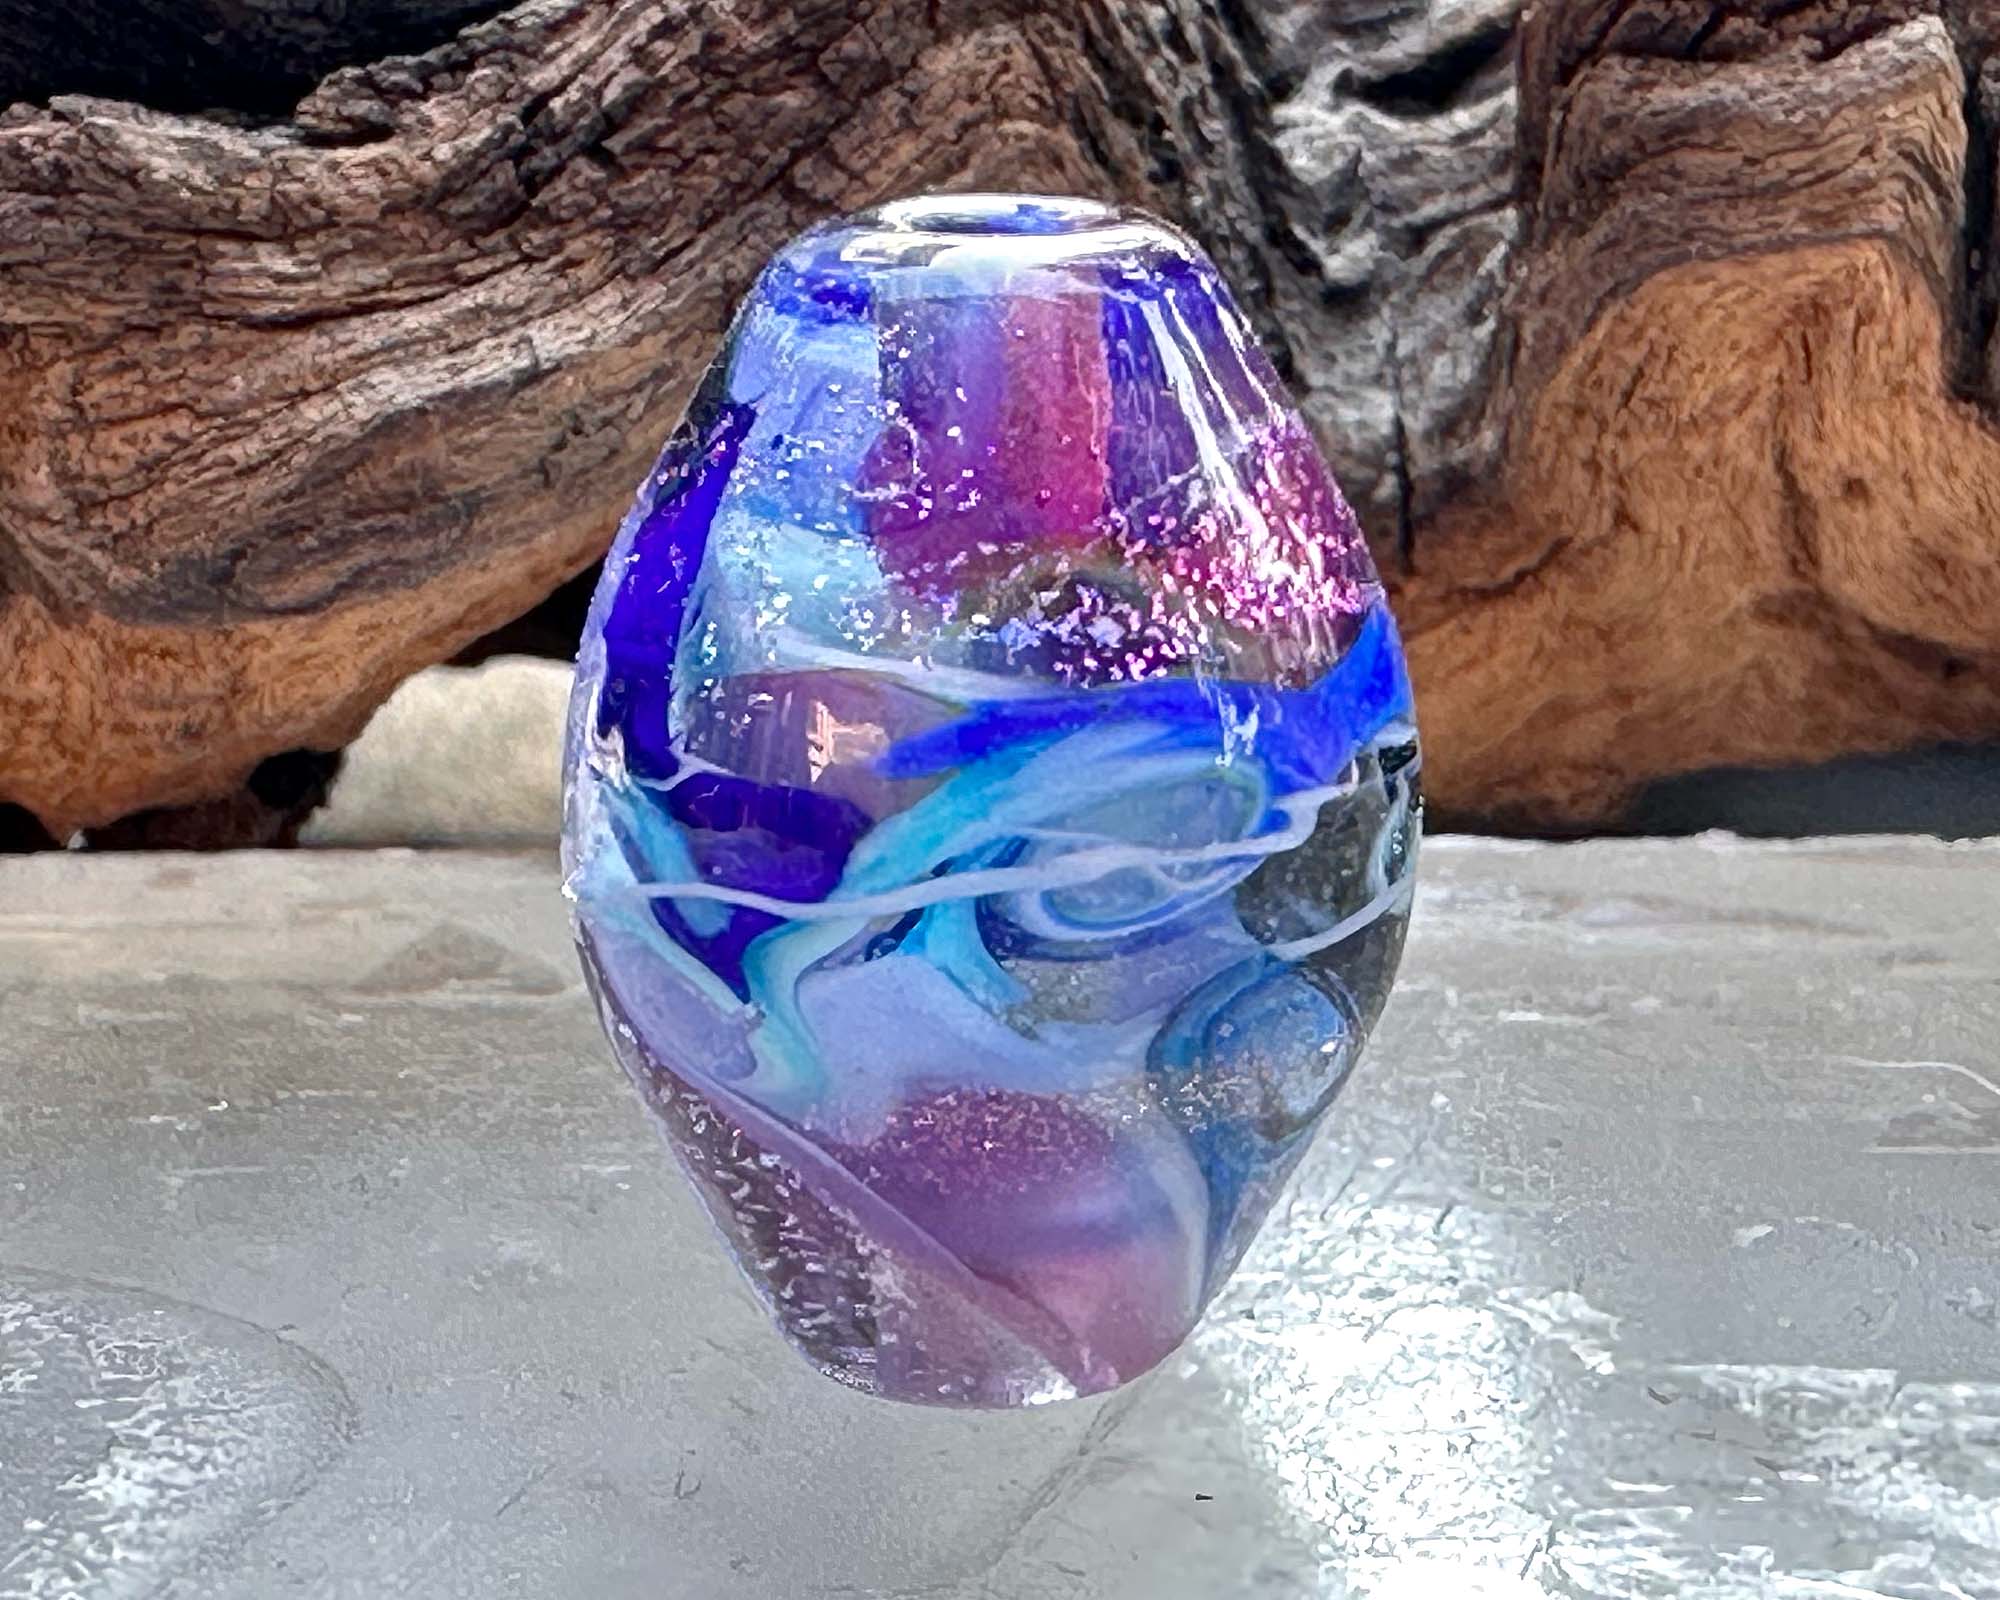
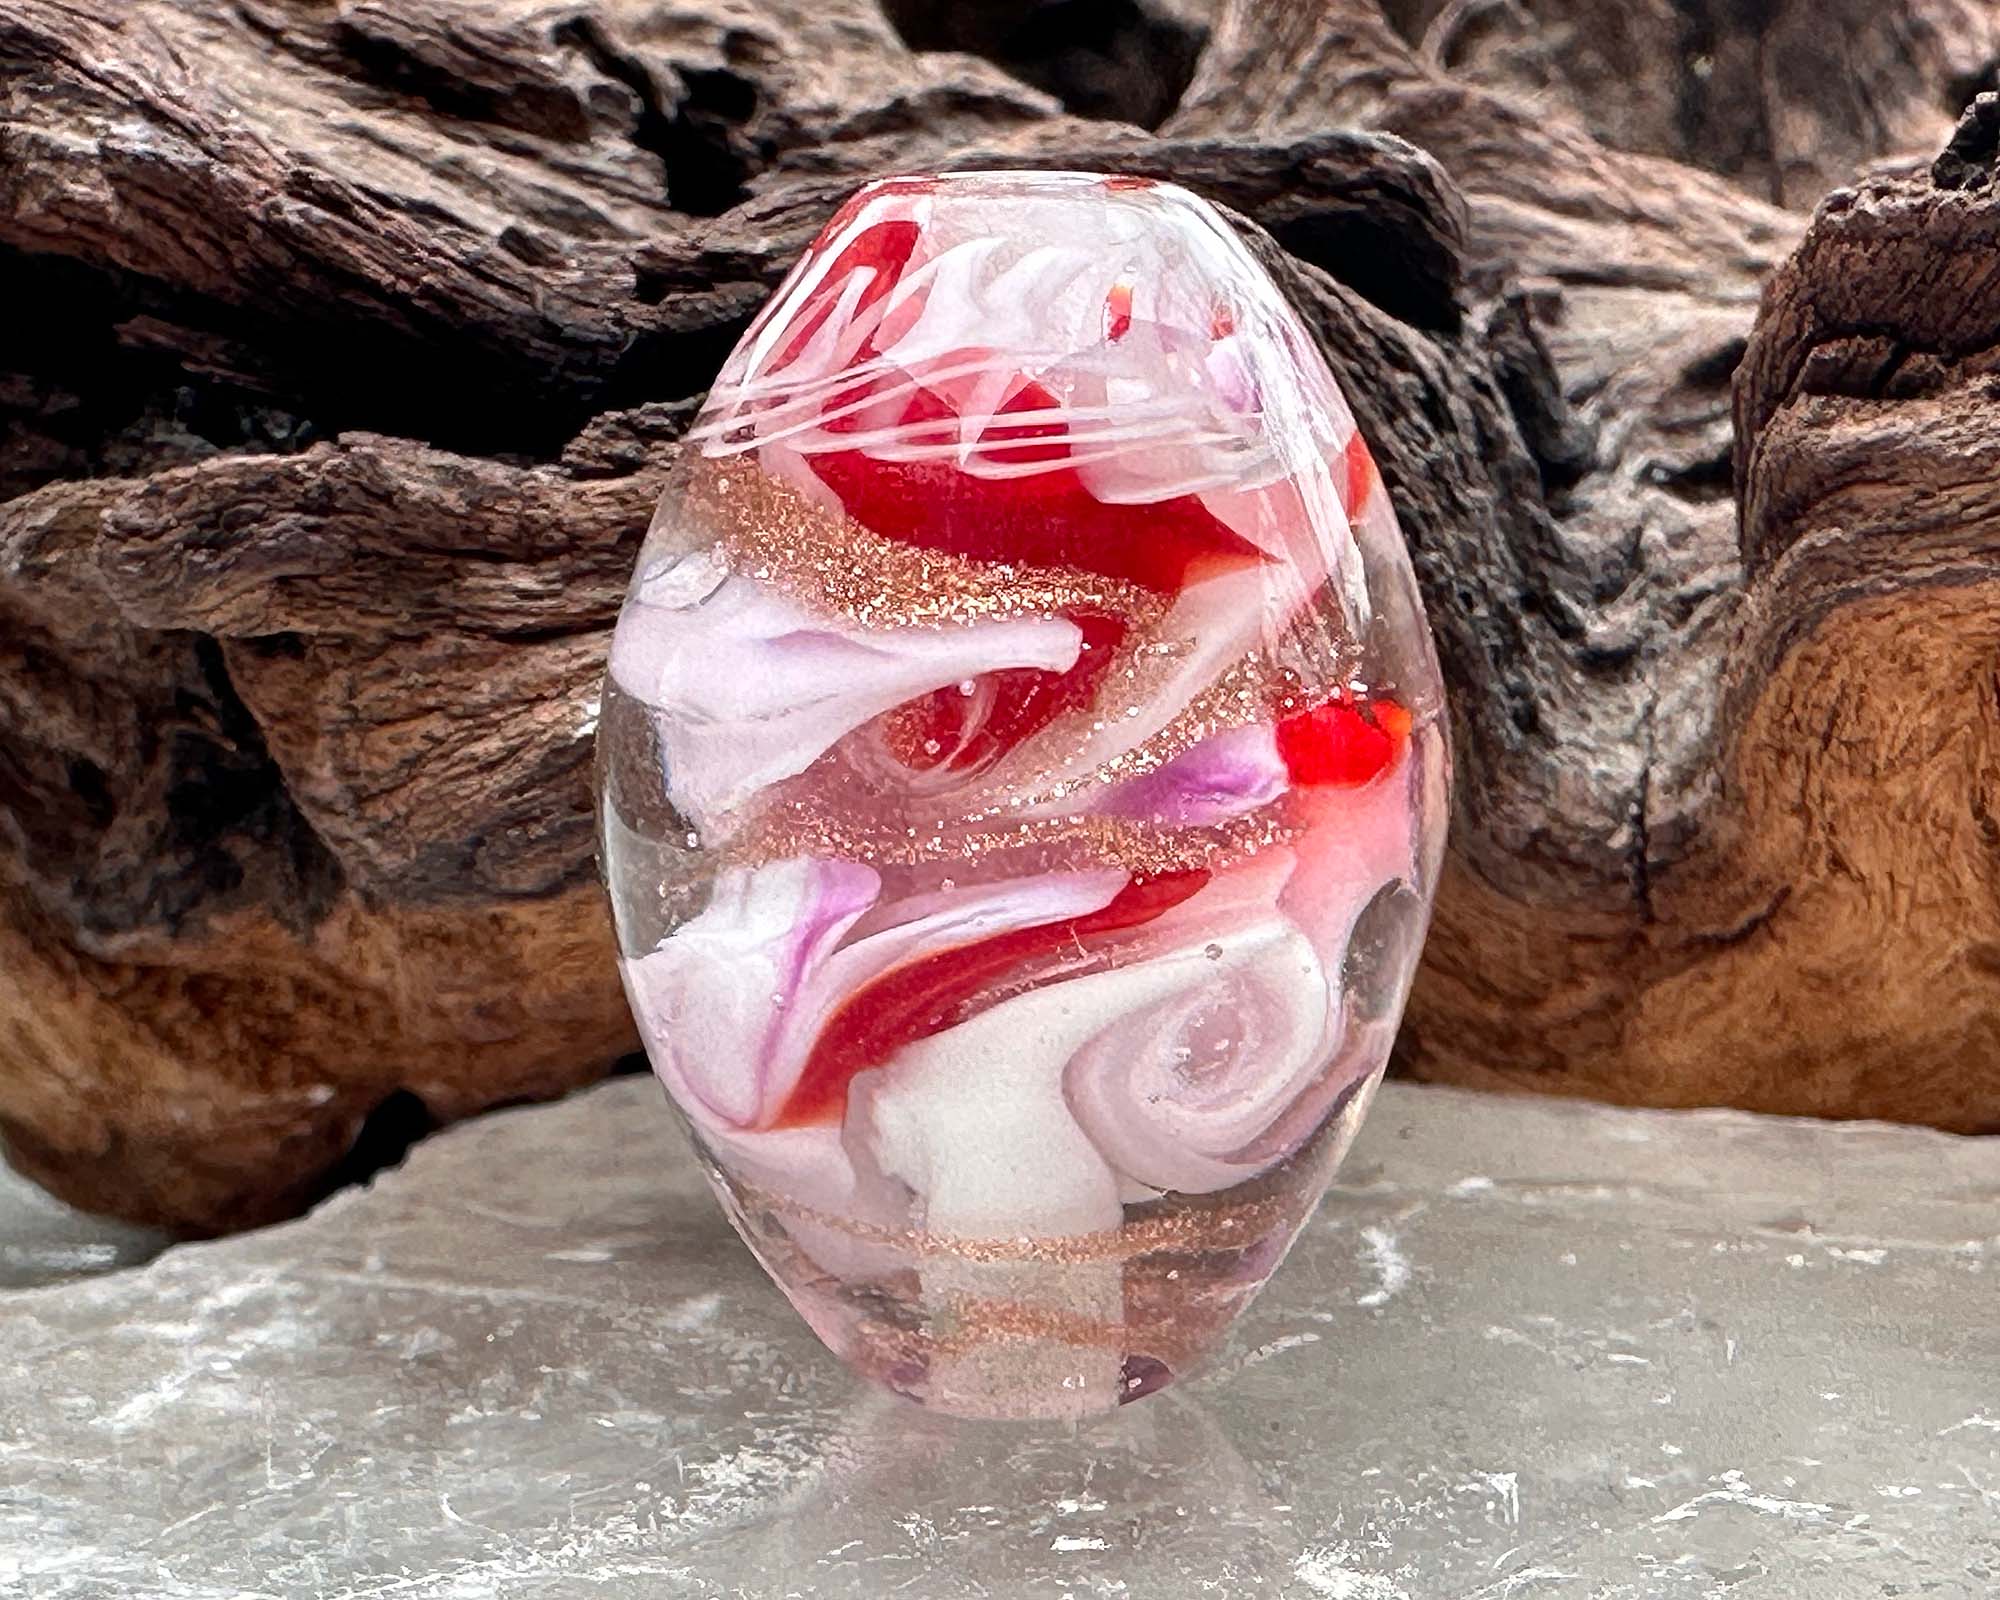
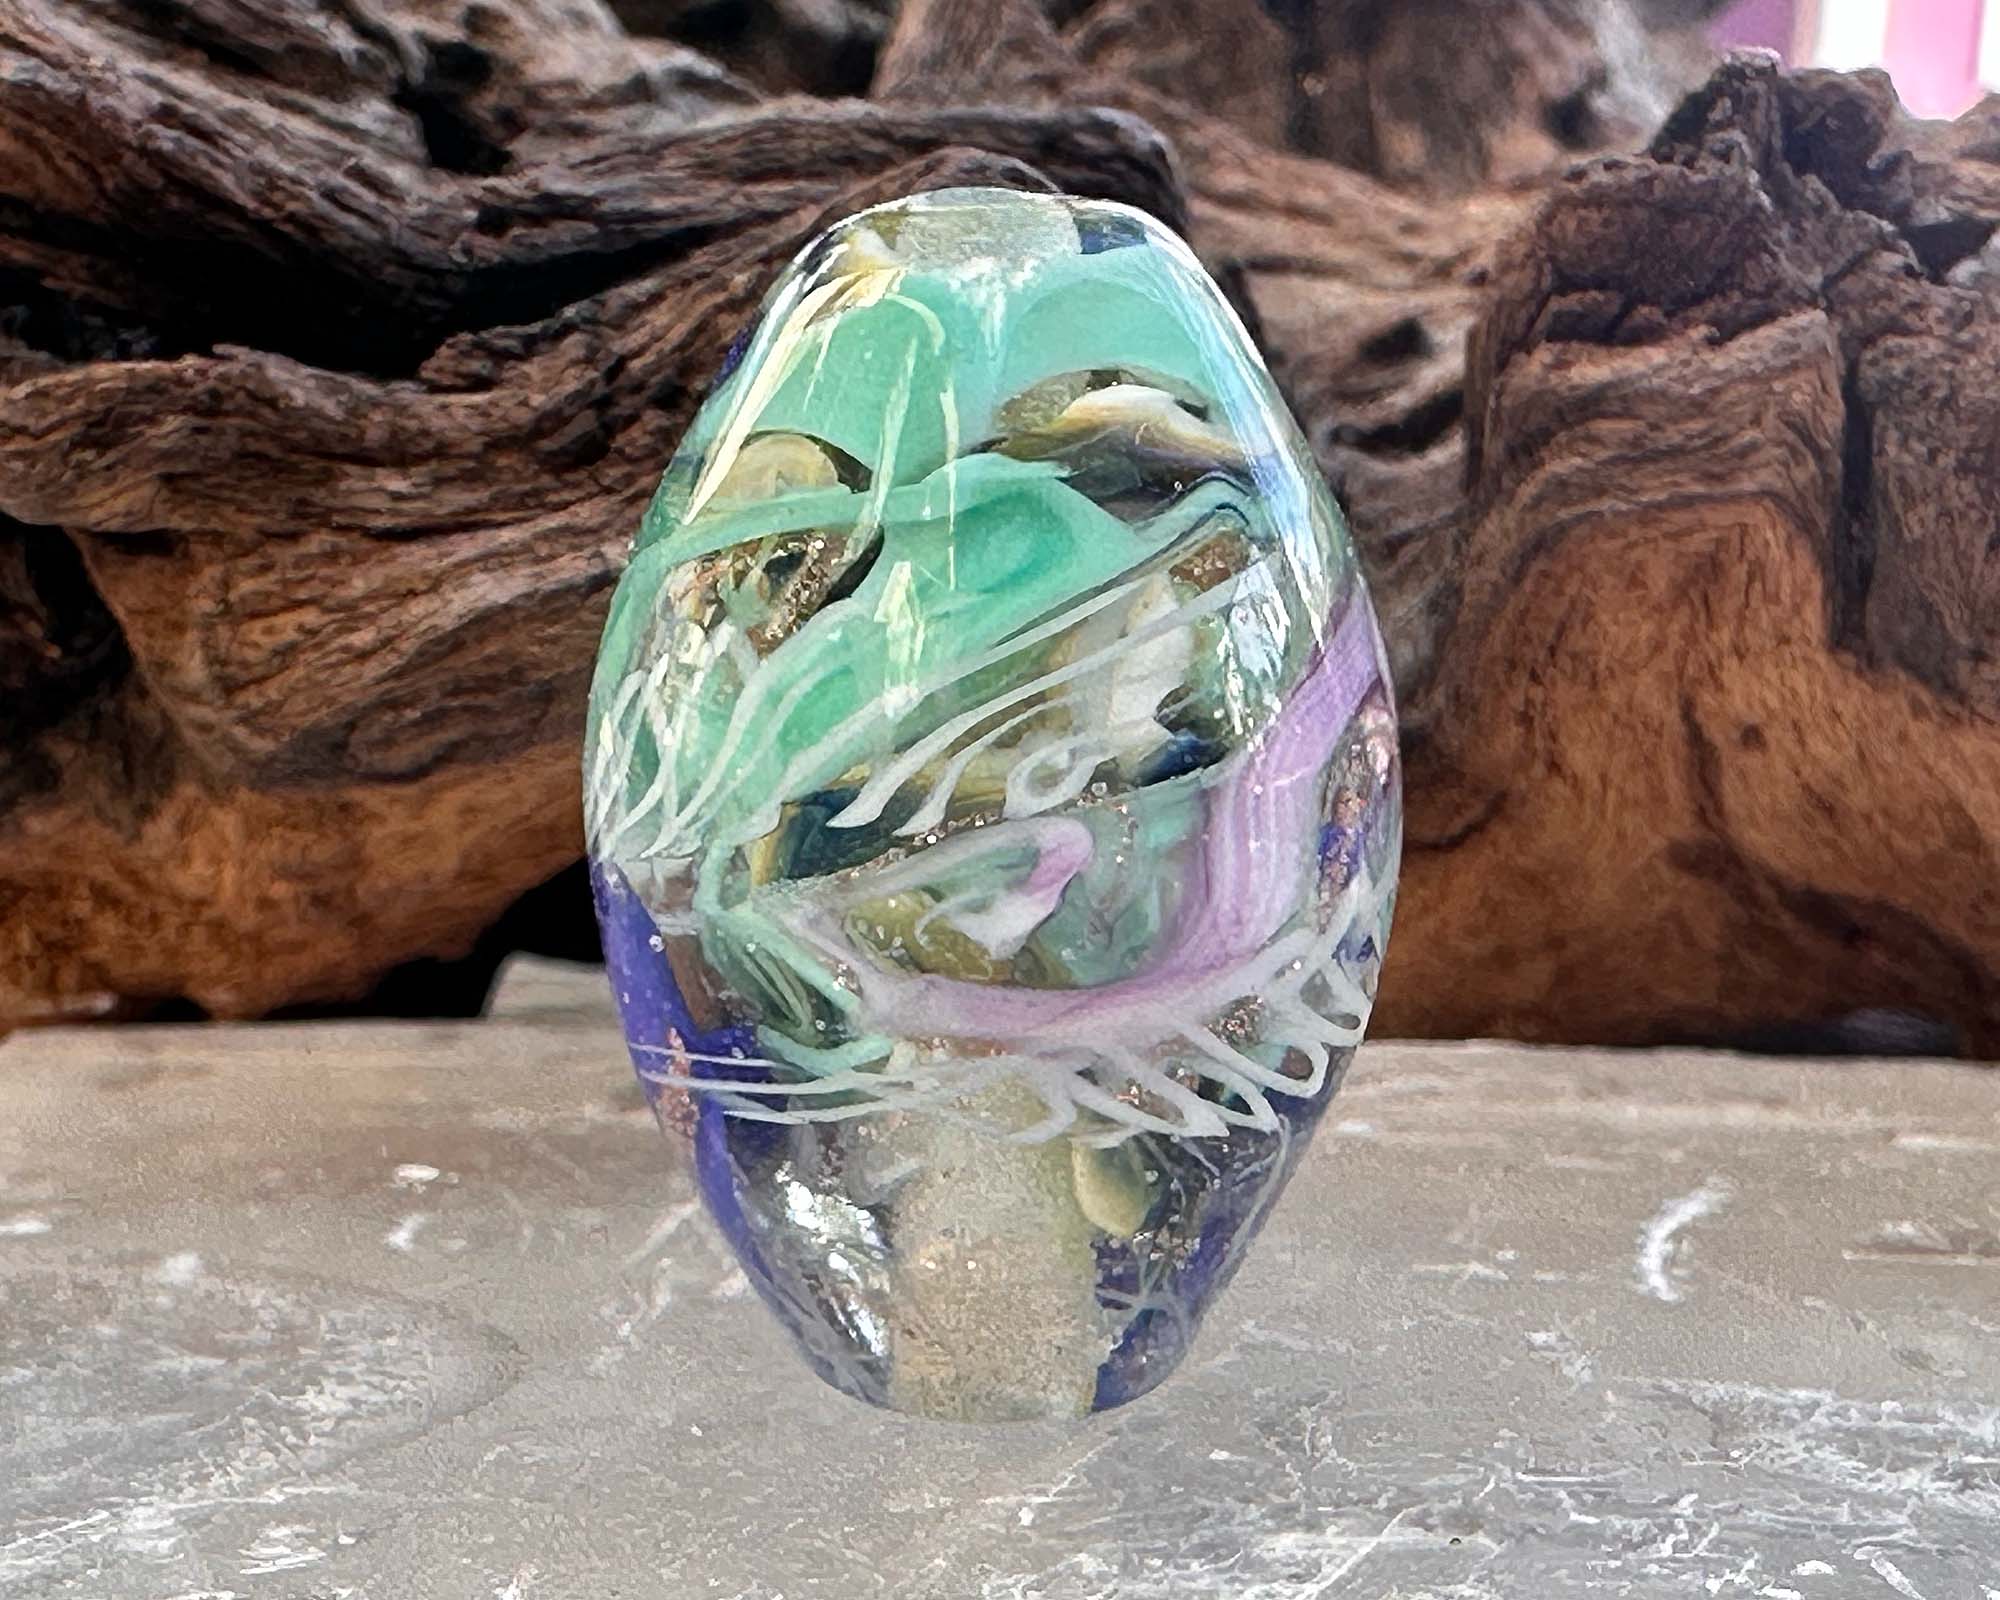
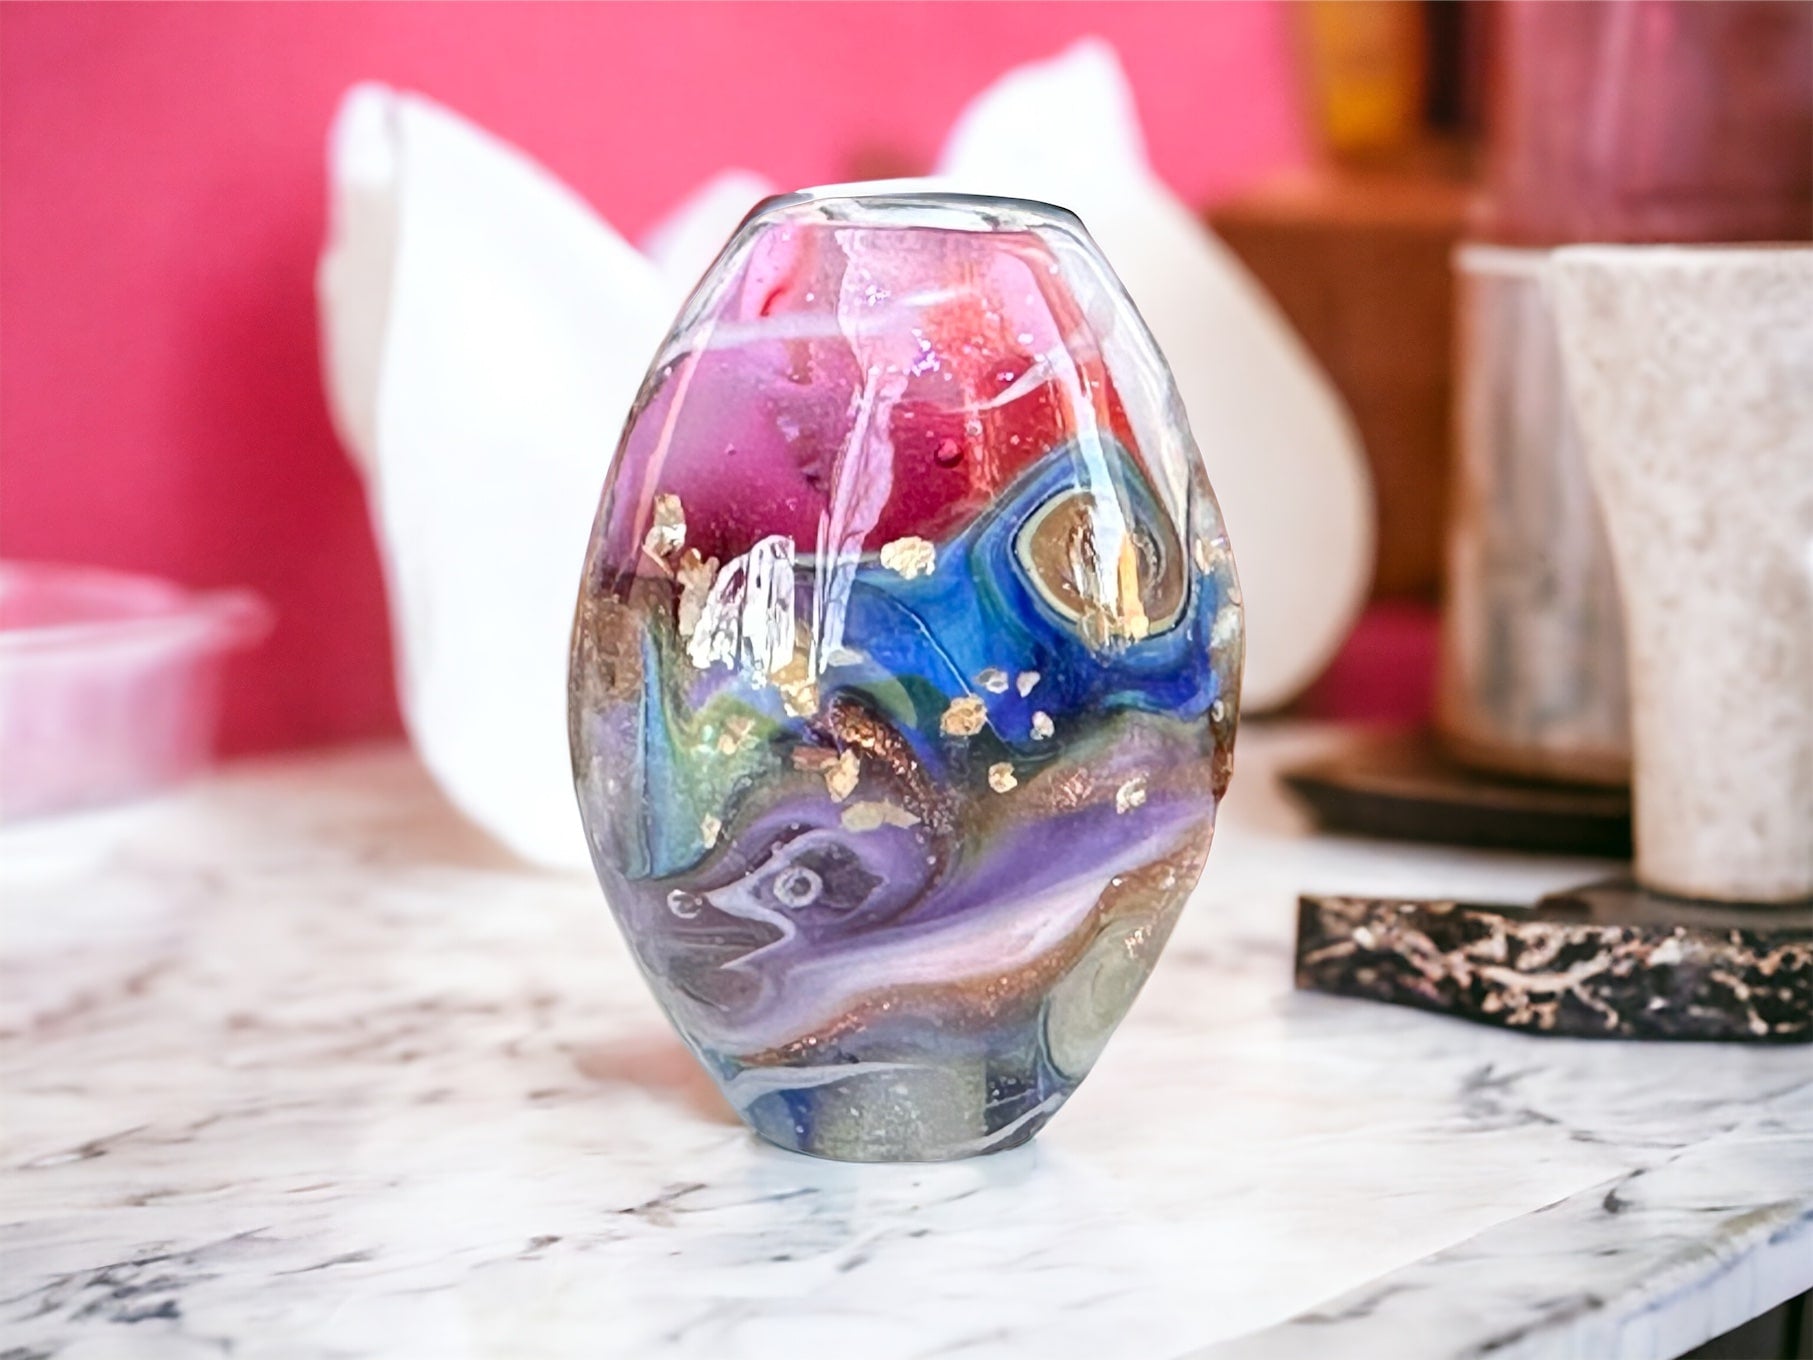
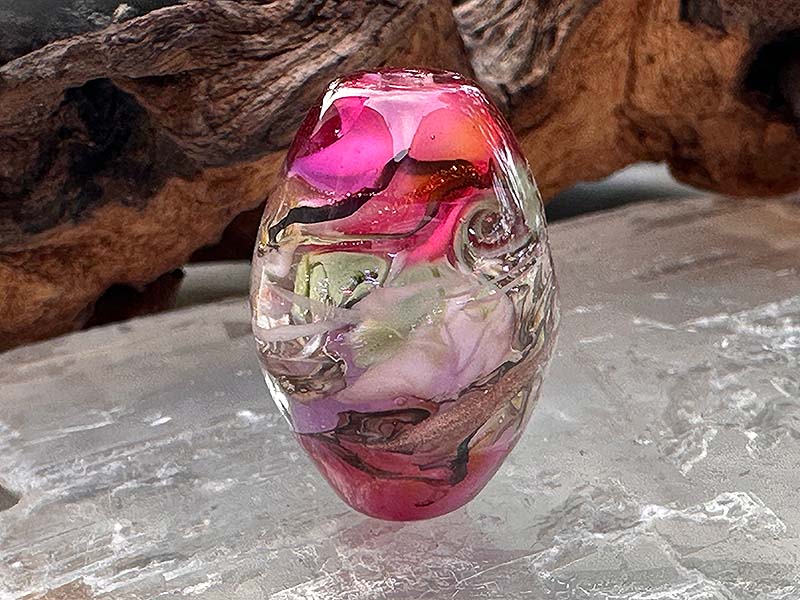
Scrap Lampwork Beads


Here are some other examples of scrap lampwork beads.