How to Make Beaded Jewelry for Beginners
Beaded jewelry is a beautiful and creative way to express yourself and add a personal touch to your fashion accessories. Making your own jewelry can be a fun and rewarding hobby, and it's surprisingly easy to do. Whether you're a beginner or an experienced crafter, you can create a variety of stunning designs using different types of beads and materials. In this article, we'll guide you through the process of making beaded jewelry.

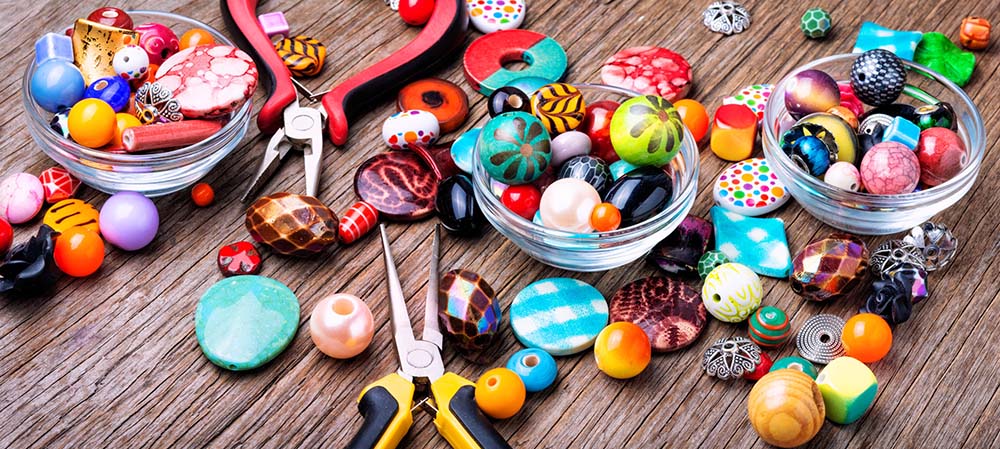
Step 1: Choose Your Beads and Materials The first step in making beaded jewelry is to choose the beads and materials you want to use. There are many different types of beads to choose from, including glass, plastic, metal, stone, lampwork beads, and wood. Consider the color, shape, and texture of the beads to ensure they match your desired design.
You'll also need some basic materials, such as a beading wire or cord, crimp beads, clasps, and pliers. These items can be found at most craft stores and online. A personal favorite is 49 strand beading wire for extra durability and strength.
Step 2: Plan Your Design Once you have your beads and materials, it's time to plan your design. Sketch out your ideas or browse online for inspiration. Decide on the length of your necklace or bracelet and choose the appropriate clasps.
Consider the spacing and pattern of the beads, and how they will look when strung together. You can create a simple design with a single type of bead or mix different types of beads for a more intricate look.
Step 3: String Your Beads Now it's time to start stringing your beads. Cut a piece of beading wire or cord to the desired length, leaving extra room for the clasp and crimp beads. String your beads onto the wire or cord, following your design.
If you're using crimp beads, slide one onto the end of the wire, then add the clasp and loop the wire back through the crimp bead. Use pliers to gently crimp the bead, securing the clasp in place. Repeat on the other end of the wire.
Step 4: Finish Your Jewelry Once your beads are strung and secured, it's time to finish your jewelry. Trim any excess wire or cord, and add a dab of glue to the knots or crimps to secure them further.
If you want to add some extra flair, you can attach charms, pendants, or tassels to your jewelry using jump rings. These small metal rings can be opened with pliers and used to connect different components of your jewelry.

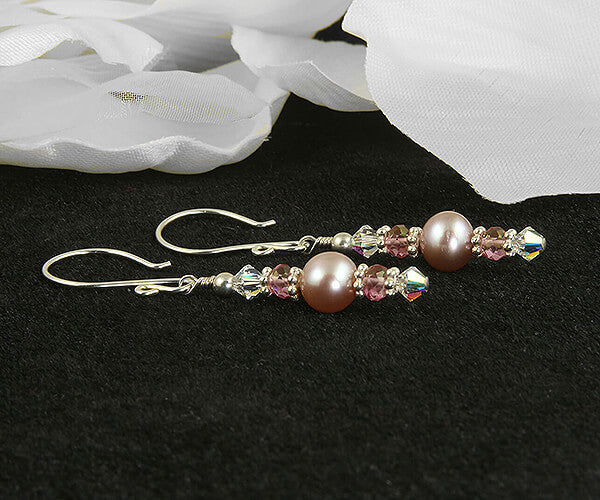
Step 5: Enjoy Your Creation! Congratulations, you've just made your own beaded jewelry! Wear it proudly or give it as a gift to a friend. With practice, you can develop your skills and create more complex and intricate designs.
In conclusion, making beaded jewelry is a fun and rewarding hobby that anyone can enjoy. With a few basic materials and some creativity, you can create beautiful and unique jewelry pieces that reflect your personal style. So go ahead, unleash your inner designer, and start making your own beaded jewelry today!
